Somewhere on your calendar right now is a meeting that happened because of five back-and-forth emails: “does Tuesday work?” “Actually I have something then, how about Thursday?” “Thursday’s tight, can we do 2pm?” That’s not scheduling, it’s negotiation, and it costs you 10-15 minutes of low-value typing per meeting — easily an hour or two a week once you add it up across a full calendar.
This is part of our Time Management for Remote Workers series. This guide is the hands-on version: a real booking page connected to your calendar, availability rules that protect your actual working hours, and automation that fires the moment someone books — so a meeting gets scheduled, confirmed, logged, and announced to your team without you touching a single email thread.
What You’ll Build
- A public booking page connected live to your real calendar, so no one can ever book over something you already have scheduled
- Availability rules — buffers, minimum notice, daily caps — that stop back-to-back bookings from eating your whole day
- Separate event types (quick call, full meeting, demo) that route to the right length and the right questions automatically
- Zapier automation that fires the moment a meeting is booked: calendar event, CRM record, Slack notification, confirmation email
- A layer of protection around your own deep-work time so “automated” doesn’t quietly turn into “double-booked”
Time to set up: 30–60 minutes · Cost: $0 on the free tools below, $10-16/seat/month if you want Calendly’s paid tiers · Skill level: no code required
Step 1: Pick Your Booking Tool and Connect Your Real Calendar
You have two solid starting options, and which one you pick mostly comes down to what you already use and how many event types you need:
- Google Calendar’s built-in Appointment Schedules — free with any personal Google account or Workspace Business Starter plan and up. Creates a booking page directly inside Calendar, reads your existing events to block busy times, and needs zero new logins for the people booking you. The ceiling: one booking page per calendar type by default, and fewer routing/automation options than a dedicated tool.
- Calendly — a dedicated scheduling tool with a genuinely useful free plan (one event type, unlimited bookings) and paid tiers that add multiple event types, team routing, and deeper Zapier triggers. Worth it once you need more than one kind of meeting or want the automation in Step 4 below.
Whichever you pick, the first and most important step is the same: connect it to the calendar you actually live in — Google Calendar or Outlook — not a calendar you check twice a week. Every automated booking system is only as good as the calendar it reads busy/free from. If you keep meetings in two calendars (say, a work Google Calendar and a personal Outlook one), connect both so the tool blocks out both, or you’ll get double-booked the first week.
Step 2: Set Availability Rules That Actually Protect Your Day

The default settings on both tools are built to maximize how easy you are to book — not to protect your time. Before you share your link with anyone, go into the availability settings and set:
- Buffer time — 10-15 minutes before and after every meeting, minimum. Both Google Calendar’s appointment schedules and Calendly support this natively. Without it, back-to-back bookings mean you’re still typing notes from the last call while the next one starts.
- Minimum scheduling notice — at least 4-12 hours, longer if you need real prep time. This is what stops someone from booking a slot 10 minutes from now while you’re mid-task.
- Maximum bookings per day — a hard cap (say, 4-6 meetings) so a busy week can’t silently turn into an all-meetings week. Both tools let you set this directly on the booking page.
- Real working hours, not your calendar’s default 9-5 — if you protect mornings for deep work, block that time as unavailable on the booking page specifically, separate from your general calendar availability.
This step is the difference between “I automated my calendar” and “I automated people’s ability to fill my calendar.” Do it before you share the link, not after the first bad week.
Step 3: Build Separate Event Types for Different Meetings
One link for every kind of meeting is the single most common setup mistake. A 15-minute intro call and a 45-minute strategy session have different lengths, different buffers, and often different questions you need answered before the call even happens. Create at least two or three event types:
- Quick call (15 min) — for intro chats or quick questions, minimal pre-call questions, tighter availability window
- Standard meeting (30 min) — your default working meeting length, with 2-3 required intake questions (what do you want to cover, company/role, etc.)
- Deep-dive / demo (45-60 min) — longer buffer before and after, fewer slots per day, more detailed intake so you can actually prepare
Each event type gets its own link. Put the right one in the right place — the quick-call link in your email signature, the demo link in your sales page — instead of sending one generic link and hoping people pick the right meeting length for their own request.
Step 4: Automate Everything That Happens After Someone Books
Booking the meeting is only half the job. The other half — logging it in your CRM, telling your team, sending a prep email — is exactly the kind of repetitive follow-up work Zapier exists for. Build one Zap:
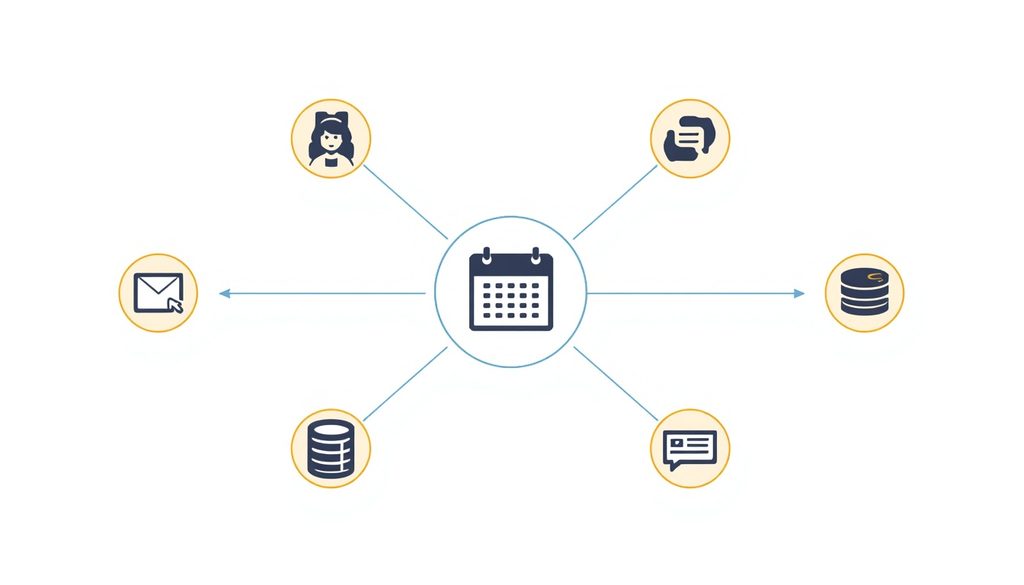
- Trigger: “Invitee Created” (Calendly) or a new event matching your appointment schedule’s calendar (Google Calendar). Calendly’s native Zapier integration fires the moment someone books, reschedules, or cancels — pick the specific trigger you need rather than a generic calendar-event trigger, since reschedules and cancellations need different downstream handling than a fresh booking.
- Action 1 — Confirmation with context: most booking tools already send a calendar invite, so use this step for something extra: a personalized email with a prep doc link, a Loom intro, or an agenda template, pulled in with merge fields from the booking.
- Action 2 — CRM record: create or update a contact/deal in HubSpot, Notion, or Airtable with the invitee’s name, email, meeting type, and scheduled time, so a booked call always shows up in your pipeline without manual entry.
- Action 3 — Team notification: a Slack message to your team channel — who booked, what type of meeting, when — so nobody is caught off guard by a meeting they didn’t know was coming.
Add a second, smaller Zap on the cancellation/reschedule trigger that updates the same CRM record and pings the same Slack channel — a meeting that silently disappears from your calendar without updating anywhere else is almost as messy as one that was never automated.
Step 5: Protect Your Own Time So Automation Doesn’t Backfire

An easy-to-book calendar is a double-edged sword — the same automation that removes friction for other people to grab your time can quietly fill every open slot if nothing pushes back. This is where a smart-scheduling layer like Reclaim.ai earns its keep: instead of just blocking busy time, it actively defends specific hours for focus work, habits, and breaks by treating them as flexible events it will move around meetings rather than static blocks people can book straight over. We’re publishing a full walkthrough of Reclaim.ai (and how it compares to Motion and Calendly) later in this series — for now, the low-effort version is simple: block 2-3 hours of “focus time” directly on the calendar your booking tool reads from, mark it busy, and treat it with the same seriousness as an external meeting. A booking page can only be as protective of your time as the calendar underneath it lets it be.
Free vs. Paid: What You Actually Need
| Setup | Cost | What it gets you |
|---|---|---|
| Google Calendar Appointment Schedules + Zapier Free | $0/month | One booking page, buffers, daily caps, and up to 100 automated tasks/month — enough for a solo operator handling one meeting type |
| Calendly Free + Zapier Free | $0/month | One Calendly event type with unlimited bookings, cleaner booking-page design than Google’s, still capped at one meeting type and 100 Zapier tasks/month |
| Calendly Standard ($10/seat/mo annual) + Zapier Professional ($19.99/mo) | ~$30/month | Multiple event types (Step 3), routing forms, and enough Zapier tasks/month for the full multi-step automation in Step 4 |
| Calendly Teams ($16/seat/mo annual) | $16+/seat/month | Round-robin routing across a team, admin controls — worth it once more than one person is taking bookings from the same link |
Most solo operators and small teams can run everything in Steps 1-4 entirely free. The upgrade to Calendly Standard is worth paying for the moment you need more than one event type or want routing forms that send different meeting types to different team members automatically.

Common Mistakes to Avoid
- Skipping buffers because “15 minutes doesn’t matter.” It’s the difference between arriving to your next call composed and arriving still typing notes from the last one.
- One link for every meeting type. A generic link means every meeting defaults to whatever length you set first, whether that’s right for a quick question or a full strategy session.
- Connecting only one calendar when you use two. If your booking tool doesn’t see everything, you will eventually get double-booked — usually during the first week you start relying on it.
- No minimum notice window. Letting people book a slot 10 minutes from now guarantees you’ll occasionally get pulled into a meeting mid-task with zero warning.
- Automating the booking but not the cancellation. A Zap that only fires on new bookings leaves your CRM and Slack channel out of sync the moment something gets rescheduled or canceled.
FAQ
Do I need Calendly, or is Google Calendar’s booking feature enough?
If you only ever take one kind of meeting, Google Calendar’s free Appointment Schedules feature is genuinely enough — it reads your real availability and creates a working booking page at no cost. Calendly earns its keep once you need multiple event types, routing forms, or deeper Zapier automation triggers like separate reschedule/cancellation events.
Does this work with Outlook instead of Google Calendar?
Yes. Calendly connects natively to both Google Calendar and Outlook/Microsoft 365, and can even sync multiple calendars from both at once so your booking page blocks time from all of them. Google’s own Appointment Schedules feature is Google Calendar-only.
How do I handle no-shows without manually checking?
Add a reminder email or SMS step to your Zap timed a few hours before the meeting — both Calendly’s native reminders and a Zapier-scheduled follow-up work well here. For a recurring no-show problem, a short cancellation-policy line on the booking page (e.g., “no-shows may need to rebook for a shorter slot”) does more than any amount of automation.
Will this stop me from getting overbooked?
The availability rules in Step 2 (buffers, daily caps, minimum notice) do most of the work. For deeper protection — actively defending focus time as if it were a real meeting rather than just blocking it — a smart-scheduling tool like Reclaim.ai or Motion goes further than a booking page alone; we cover both in upcoming reviews in this series.
The Bottom Line
You don’t need a developer or an expensive tool to stop scheduling meetings by email — a free booking page connected to your real calendar, availability rules that actually protect your day, and one Zapier automation that logs and announces every booking gets you most of the way there in under an hour. The last mile — making sure “easy to book” doesn’t quietly become “always booked” — is what a smart-scheduling layer on top handles, and that’s exactly what we’re covering next in this series with in-depth looks at Reclaim.ai and Motion.